In this post I will be mainly showing comparisons of the ISO Low and ISO 200 on long exposure images and my conclusion to the experiment. On the bottom of this post you'll also see a link to download some of the full size SOOC images from Part I and II so you can examine it yourself. You can also click the images on this post to see larger versions. Have fun pixel peeping!
 |
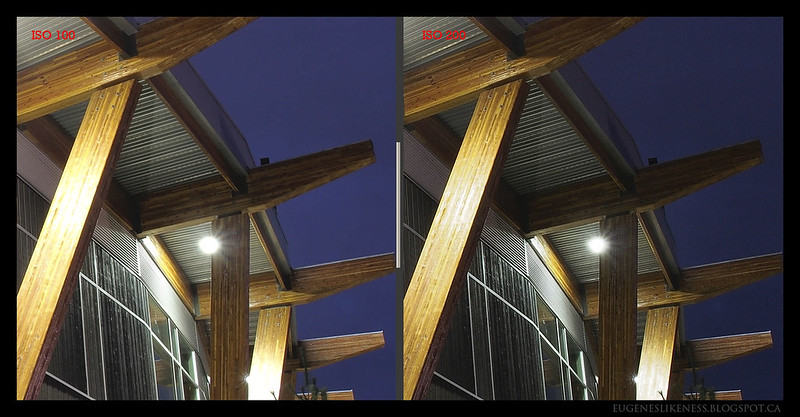
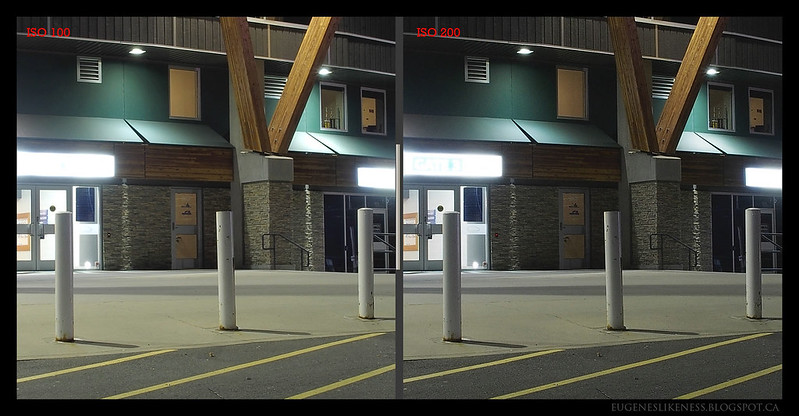
| ISO 100 - noticeably brighter with the highlights blown out |
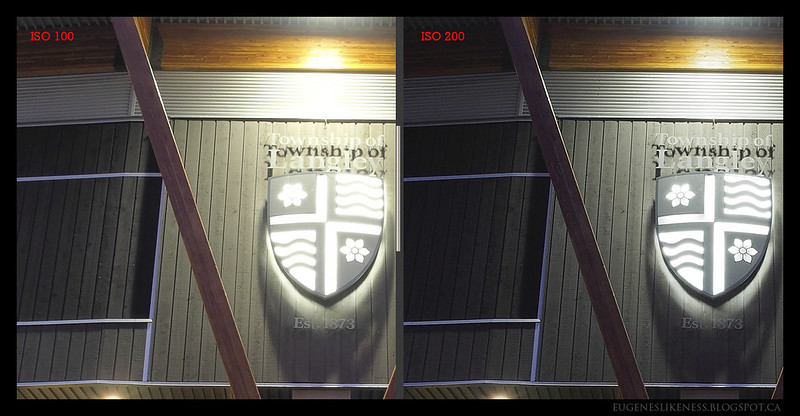 |
| SOOC - side by side at 100% |
On flickr, a follower mentioned the difference on my long exposure images are quite big. The 2 main differences I noticed are with 1) exposure and 2) details. I already mentioned the loss of details in
Part I but the exposure difference is more apparent in LE images. I think it is between +0.7 to +1 and the highlights are also blown out. For me I like a bit of both but ISO 200 delivered results that were closest to how my eyes were seeing the scene that night. It would be interesting if the ISO Low results delivered the same detail as the native ISO of 200. The same flickr follower mentioned that on the new EM-10 example images he saw, the ISO Low images delivered better detail retention. This could be due to the new True Pic VII on the EM-10 which is the same processing engine as the E-M1.
Here are a few more long exposure example images:
 |
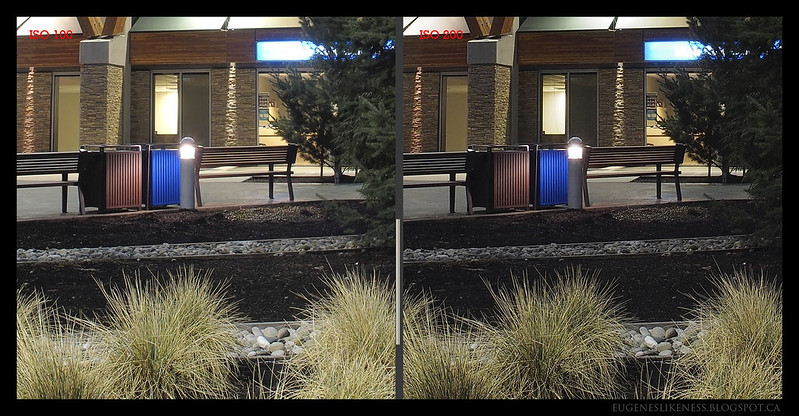
| ISO 200 |
 |
| ISO 100 |
 |
| SOOC - side by side at 100% |
 |
| ISO 200 |
 |
| ISO 100 |
 |
| SOOC - side by side at 100% |
 |
| ISO 200 |
 |
| ISO 100 |
 |
| SOOC - side by side at 100% |
Conclusion: I think the images speak for themselves. For me the native ISO is still the best to use, anything beyond that specially the ISO expansion slots are really not the same. So stick to the native ISO of your cameras is my suggestion, in this case ISO 200 for the E-M5.
Please note that all the photos were post processed with the exception of the side by side comparison. Those are 100% views from Olympus Viewer 3 before doing any post processing. I also applied more sharpening on the ISO 100 images. Please click the pictures if you want to see larger versions.
My settings on the E-M5 for Part I and II are: Contrast = 0, Sharpness = 0, Saturation = 0, Picture Mode = Natural and Gradation = Auto. I also shoot in Adobe RGB. To download a few of the full size SOOC images please follow the links below:
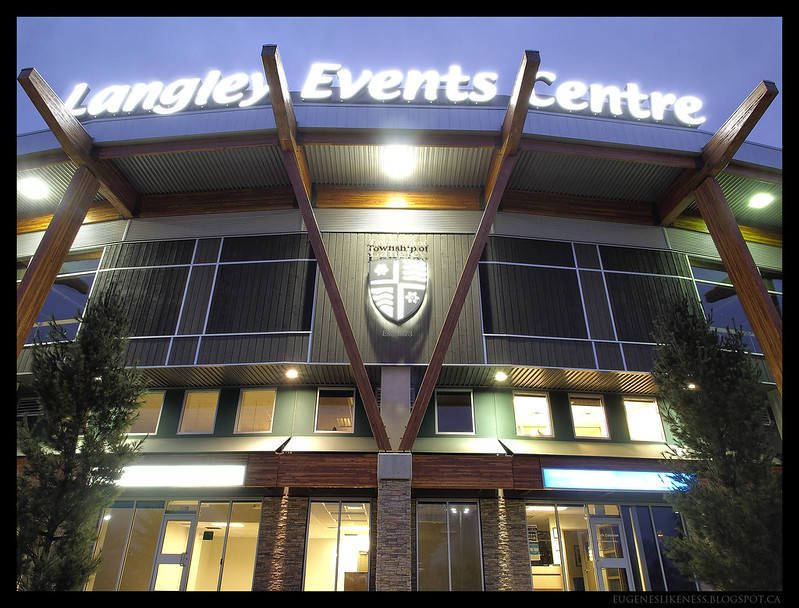
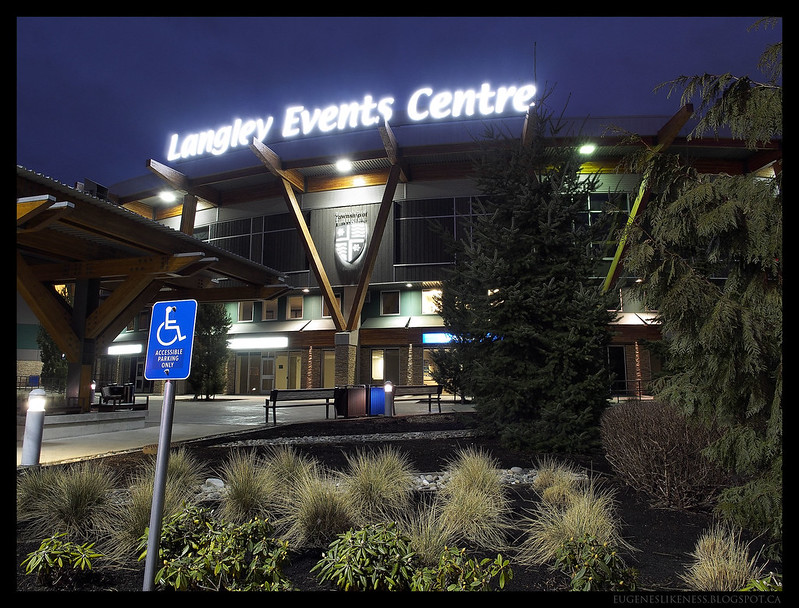
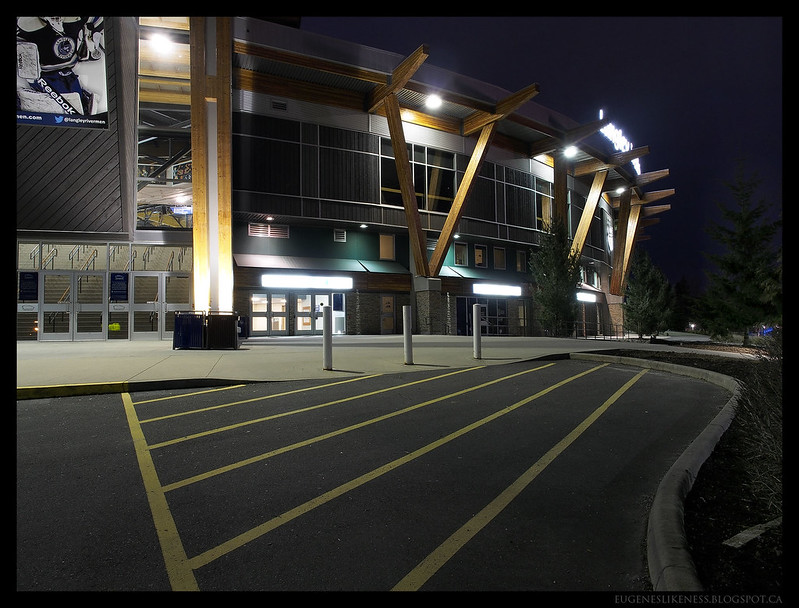
All the images in this post were made using the Olympus OM-D E-M5 (of course) and the M. Zuiko 12mm f/2.
--EP3.

No comments:
Post a Comment